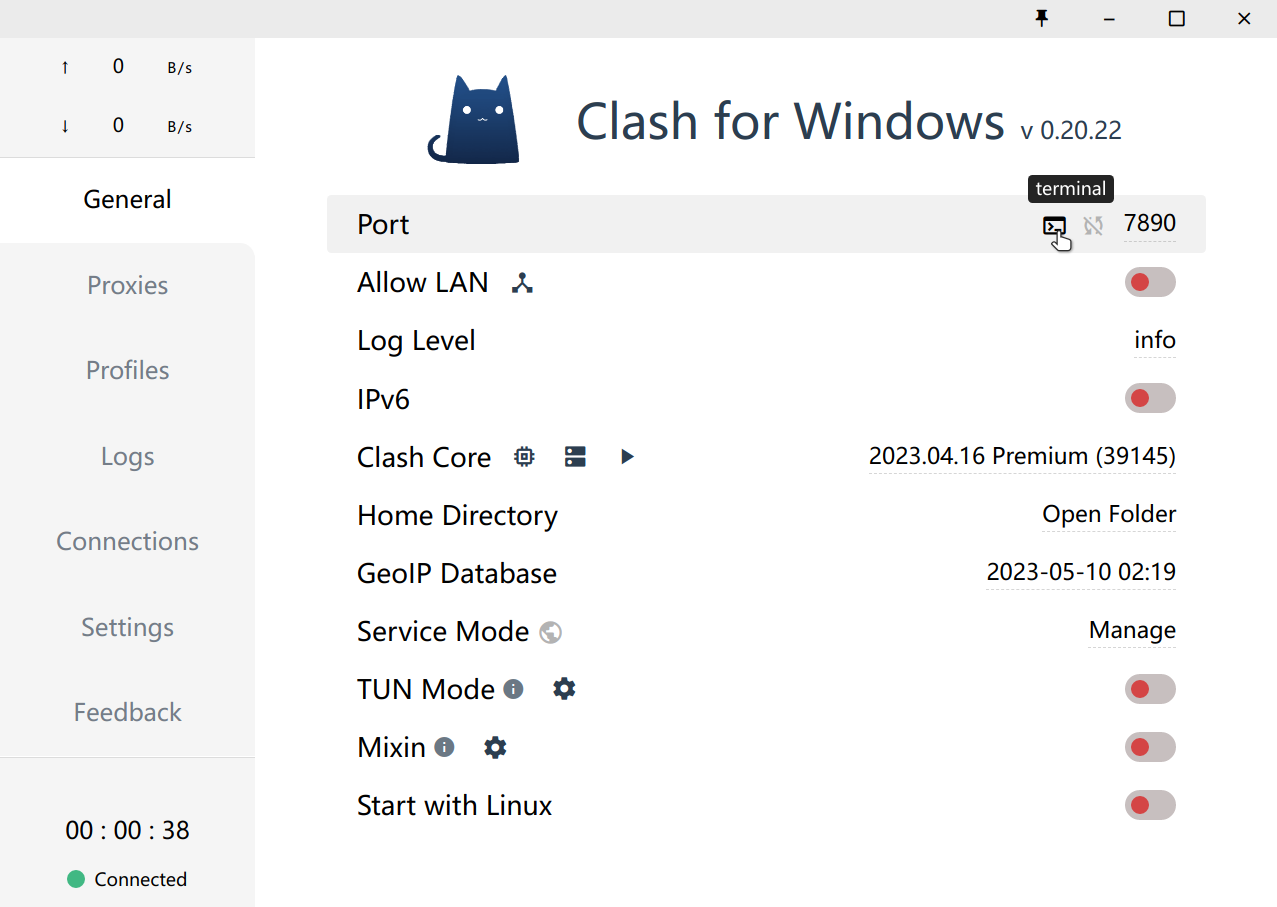
以本机安装Clash为例,代理端口为7890,即代理地址为 http://127.0.0.1:7890。
如果使用Clash for Windows,在主界面按此按钮,开启终端即可。

git
设置代理
1
2
3
4
5
6
7
| # http代理
git config --global http.proxy http://127.0.0.1:7890
git config --global https.proxy http://127.0.0.1:7890
# socks5代理(可选)
git config --global http.proxy "socks5://127.0.0.1:7890"
git config --global https.proxy "socks5://127.0.0.1:7890"
|
取消代理
1
2
| git config --global --unset http.proxy
git config --global --unset https.proxy
|
bash/zsh
设置代理
1
2
3
4
5
6
7
| # http代理
export http_proxy="http://127.0.0.1:7890"
export https_proxy="http://127.0.0.1:7890"
# socks5代理
export http_proxy="socks5://127.0.0.1:7890"
export https_proxy="socks5://127.0.0.1:7890"
|
取消代理
1
2
| unset http_proxy
unset https_proxy
|
PowerShell
1
2
| $Env:http_proxy="http://127.0.0.1:7890";
$Env:https_proxy="http://127.0.0.1:7890";
|
如果想要永久设置代理,可以使用使用自定义配置。在 PowerShell 窗口中运行如下指令:
1
2
| if (!(Test-Path -Path $PROFILE )) { New-Item -Type File -Path $PROFILE -Force }
notepad $PROFILE
|
npm
设置代理
1
2
3
| # http代理
npm config set proxy http://127.0.0.1:7890
npm config set https-proxy http://127.0.0.1:7890
|
取消代理
1
2
| npm config delete proxy
npm config delete https-proxy
|
yarn
设置代理
1
2
3
| # http代理
yarn config set proxy http://127.0.0.1:7890
yarn config set https-proxy http://127.0.0.1:7890
|
取消代理
1
2
| yarn config delete proxy
yarn config delete https-proxy
|
